Does your earring back keep slipping off your post earring? Help is on the way. Watch this quick little video on how to fix it.
Read MoreMeritMade Lessons - How to Create a Silver Bead

Silversmithing techniques as we know them today date all the way back to 4685 BC. Needless to say the craft and techniques are steeped in rich history and tradition. However, many of these techniques are now being replaced by machines and computers. Like with all technological advancements this can save huge amounts of time and effort. However at MeritMade, we strive to respect the craft and stay true to the process by performing many of these techniques in the same way that they have been for centuries.
One particular technique that is rarely used anymore, is the process of hand fabricating hollow silver beads. Machine made silver beads are prevalent in today's market and can easily be purchased through any bead or craft store. If we look to our past though, we can see some amazing pieces created with hand fabricated beads. Some of the best examples being in Native American jewelry. In this post we will walk you step by step through the process used to create a silver bead.


STEP 1 - Cut out from thin gauge silver sheet the appropriately sized circle.

STEP 2 - Start shaping and doming the silver using punches and a dapping block (here is a great video by Rio Grande that explains the process)
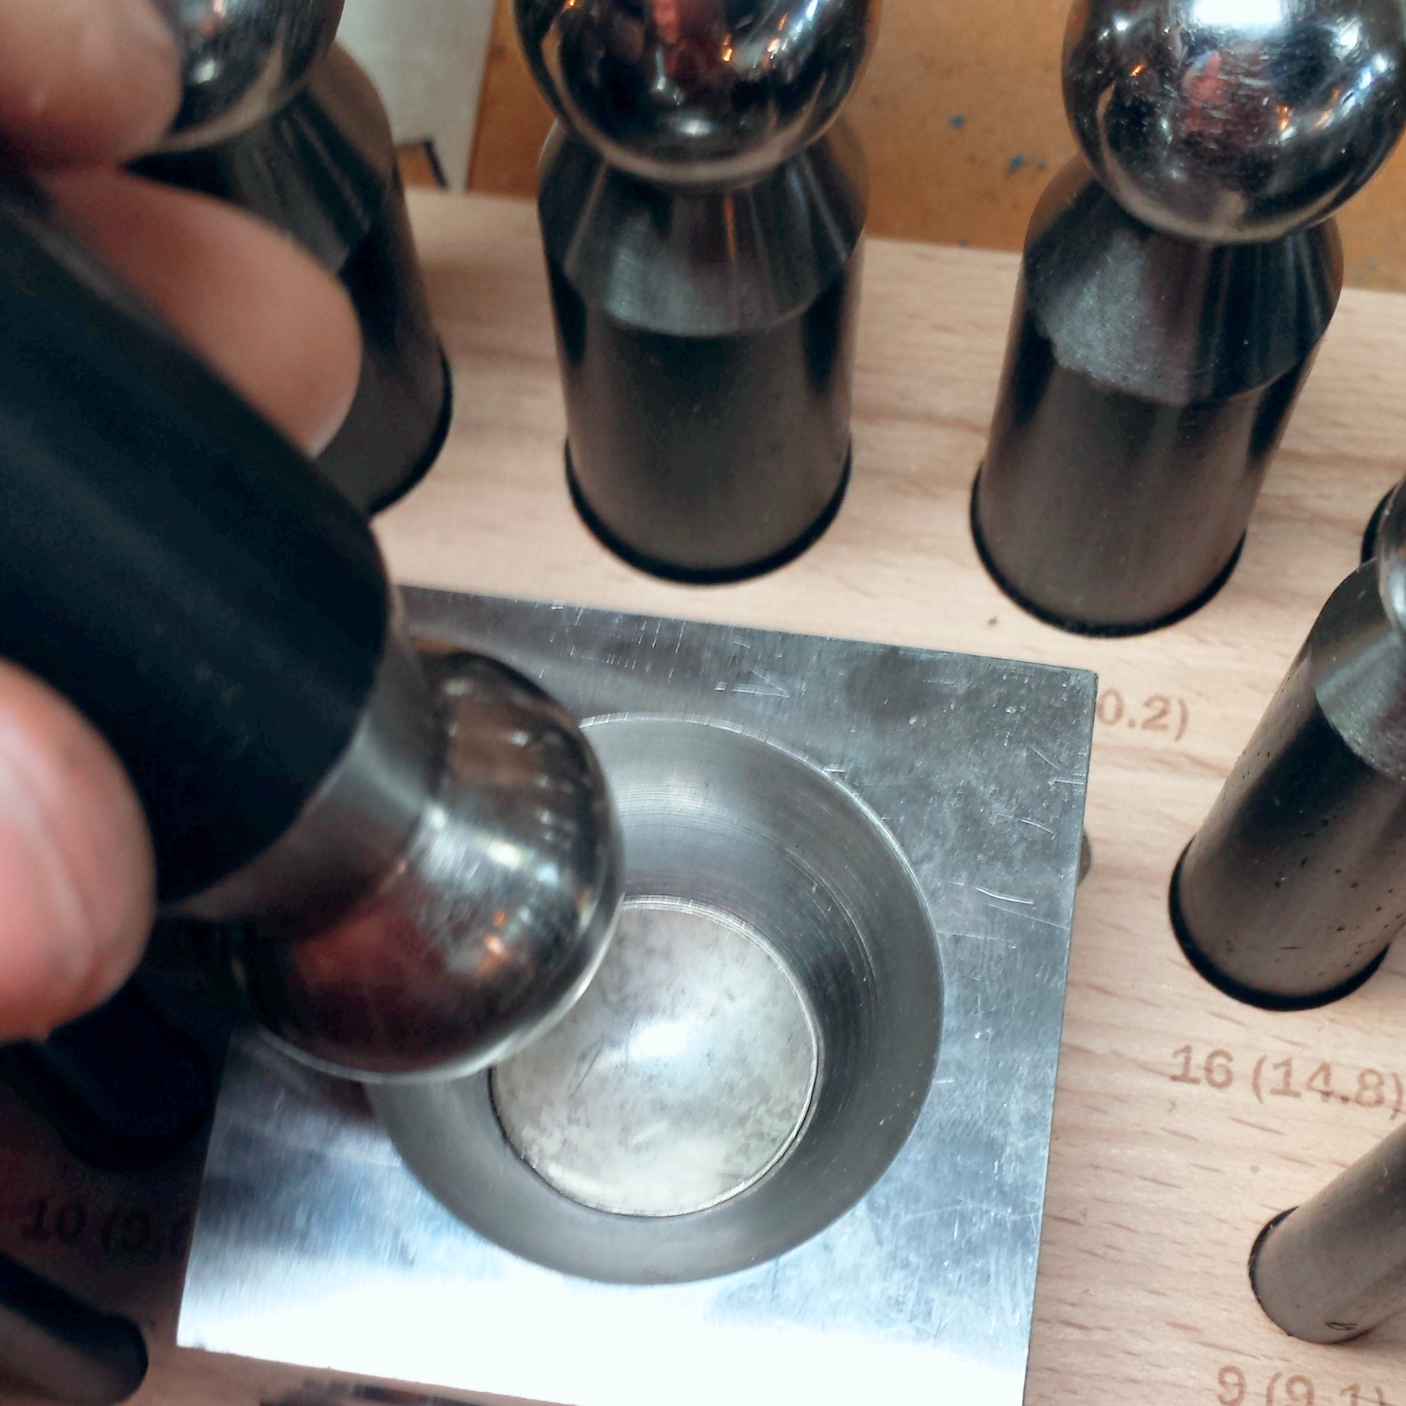

STEP 3 - Gradually work the silver step by step into the smaller sections of the dapping block. Slowly the depth of the dome will increase.
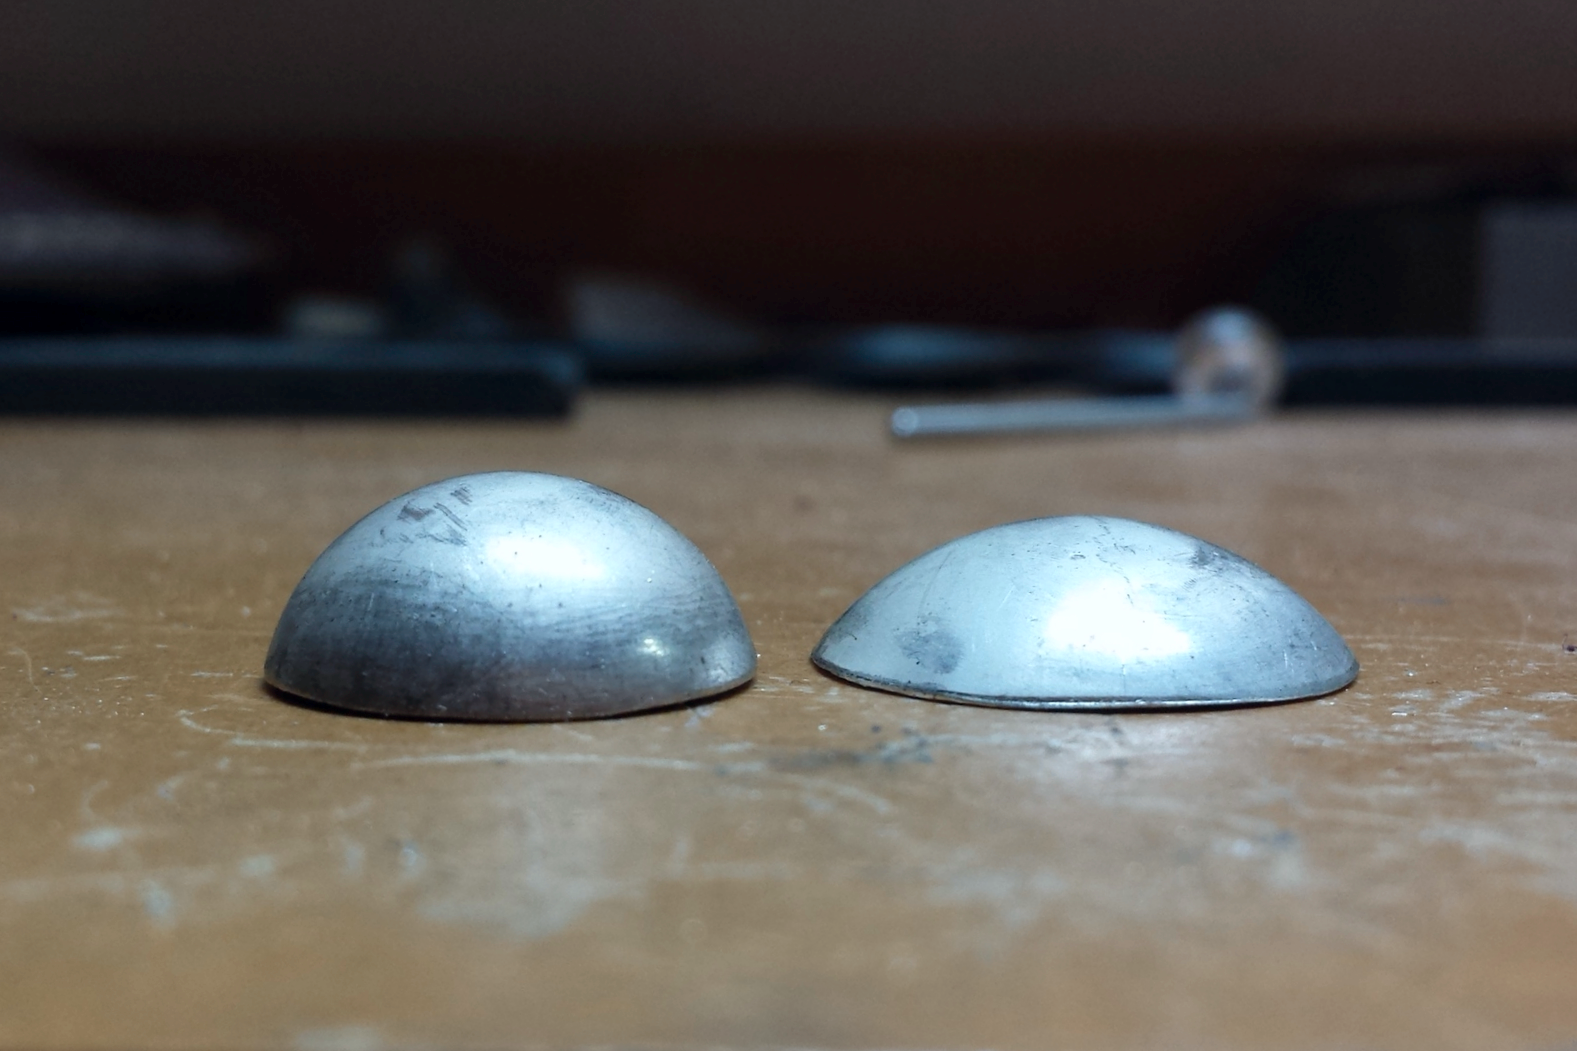
STEP 4 - Repeat Step 3 as many times as needed to get to the desired dome height. As the metal starts to harden from the hammering, you will need to periodically stop between rounds and anneal it to make the silver soft again. (For a great annealing tutorial check out this video)
STEP 5 - Once the domes are the height you want them, use a flat surface and coarse sandpaper to sand the the flat side completely level.
STEP 6 - Create a hole using a drill bit in each dome. Be sure to create the hole large enough for the chain or string that the bead will go on to.


STEP 8 - Clean up the edges and any extra solder that might have melted in the wrong place. Lastly perform any final finishing, polishing, and/or patina. VIOLA! One Bead Done!!


I'd love to hear any feedback or questions about this post. Was it interesting? What other techniques or processes would you like to see?
Interested in purchasing this silver bead necklace, hop on over to the shop!
- Kelly
MeritMade Lessons - How did you make that?
He who works with his hands is a laborer.
He who works with his hands and his head is a craftsman.
He who works with his hands and his head and his heart is an artist.
― Francis of Assisi


I'm often asked how I make my jewelry. How do you get the stone to stay there? What is that made of? How did you make that ring band a perfect circle?
I love these questions. It gives me an opportunity to talk about why I love what I do, and what makes it special. Like any good craft you are not an expert overnight. Actually you are never an expert, there is always something new to learn or try, but to become good, it takes training and LOTS of practice.
When you look at my jewelry none of this training or practice is evident. Dirty hands, gross chemicals, hammers, files, technique, etc. all of that happens behind the scenes, but it is a very important part of the process. If you know how I make something, then you can appreciate the effort that is required. In an attempt to show part of this process, I recently made a few videos.
This is just a small part of the process, but I really enjoyed making these. I hope you enjoyed watching them because I plan to show you even more in the future.
xo, Kelly
P.S. Are there any requests? What things are you interested in seeing me do?